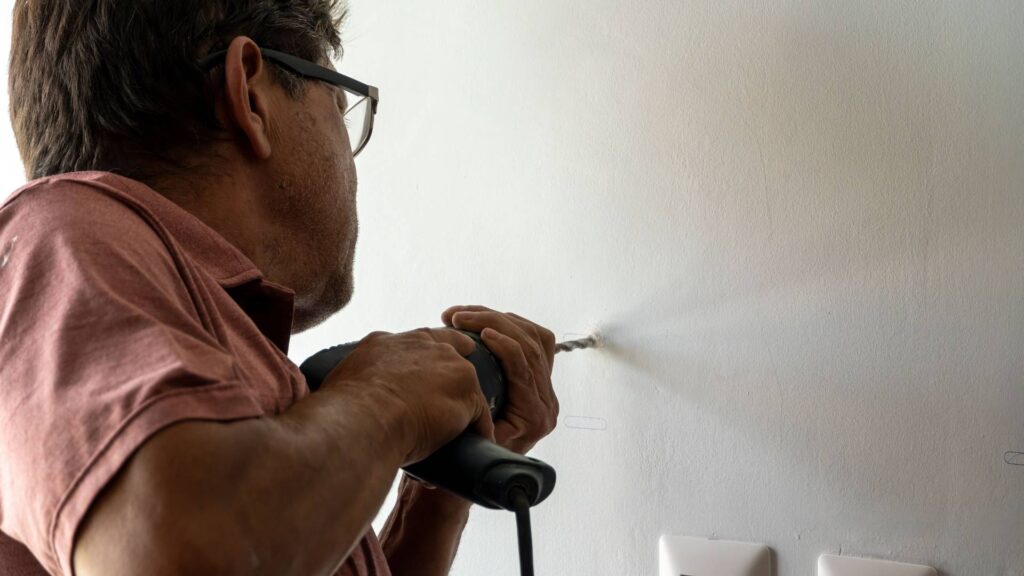
Cutting a clean, correctly-sized hole in plasterboard is one of the most repeated tasks in residential electrical work — and one of the easiest to get slightly wrong. An oversized cut-out leaves visible gaps around the plate. A cut-out that’s off-level or off-centre means the backing box won’t sit flush.
This guide walks through the complete process for cutting perfect power point holes in plasterboard: the right tools, the correct sequence, and how to avoid the mistakes that lead to callbacks.
Tools You Need
Before you start, have these ready:
- Stud finder with cable/pipe detection — Non-negotiable before cutting any hole
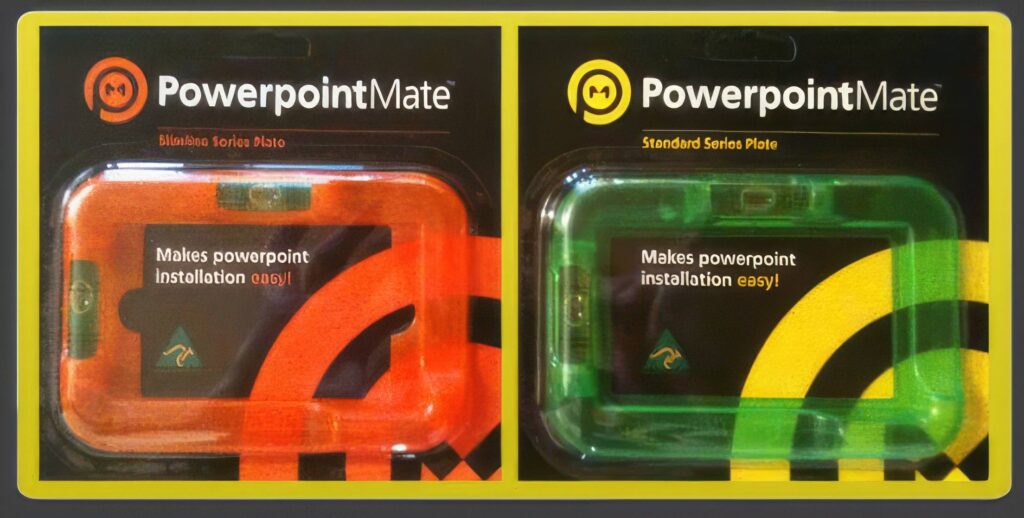
- GPO marking template — The PowerpointMate Standard Series Plate or Slimline Series Plate gives exact cut-out dimensions and a level reference
- Tape measure and pencil
- Jigsaw with plasterboard blade or oscillating multi-tool
- Keyhole saw as a backup
- Safety glasses and dust mask
Step 1: Locate the Right Position
GPOs are installed between studs, centred in the wall cavity. Before marking anything:
- Use your stud finder to locate the studs on either side of the intended position
- Mark the stud centres with a pencil
- Confirm the cavity is wide enough for the backing box (minimum 450 mm between studs for standard construction)
- Scan the entire area with the cable/pipe detector. Never skip this step on renovation work.

Step 2: Mark the Correct Height
The minimum height for a GPO in Australia is 300 mm above the finished floor level under AS/NZS 3000. Industry practice places most residential outlets at 300–400 mm above finished floor.
Critical: measure from the finished floor level, not the subfloor. If tiles, carpet, or a floating floor will be laid, add the floor covering allowance to your measurement before marking. Getting this wrong is the most common compliance failure on new builds.
Set a consistent reference height for all GPOs in the room — mark it on each stud so every outlet sits at the same level.
Step 3: Use a Marking Template
This is the step that separates clean, professional cut-outs from the kind that require a larger cover plate to hide the gap.
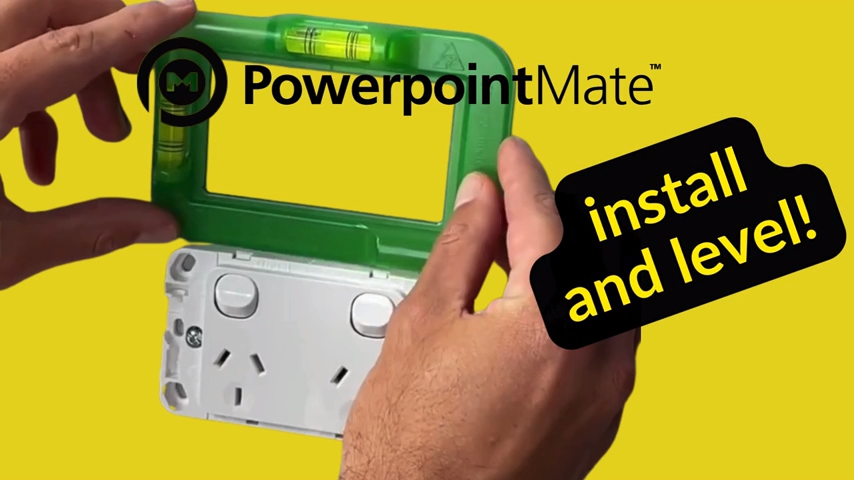
Position your GPO marking template at the reference height with the centre aligned to the cavity centre. Check it is level — most templates include a level reference line. Trace firmly around the inside of the template opening with a pencil.
The PowerpointMate Standard Series Plate is purpose-built for standard Australian GPOs. The Slimline Series Plate is for slimline-profile fittings. Both give you the exact cut-out size for your fitting type.
Step 4: Cut the Opening
With the cut-out marked, the cutting itself is straightforward:
- Put on safety glasses and a dust mask — plasterboard dust is fine and irritating
- Plunge-start your jigsaw at a corner of the marked opening, or drill a 10 mm starter hole inside the line first
- Follow the marked line carefully, cutting just inside it (the template line is the outside edge of the opening)
- Keep the blade perpendicular to the wall surface
- Cut at a moderate speed — do not force the blade
- Support the offcut with your free hand as you complete the last corner so it does not drop and crack the surrounding plasterboard
Step 5: Clean Up the Edges
Once the offcut is removed:
- Check the opening against the template — it should match exactly
- Remove any loose plaster from the cut edges with a flat-bladed screwdriver or sandpaper
- Blow or brush out plasterboard dust from the cavity
- Check there are no protruding fixings or noggins that will prevent the backing box from sitting flush
Step 6: Install the Backing Box
With a clean opening, the backing box fits simply:
- For stud-cavity walls: fix the backing box to the stud using screws, or use plasterboard spring clips if no stud is accessible
- Confirm the backing box sits flush with or just behind the wall face — not proud of the surface
- Pull the cable through the backing box cable entry
- Leave 200–250 mm of cable loop beyond the face of the wall for comfortable termination at fit-off
Common Mistakes to Avoid
- Cutting without scanning first — One cut through a live cable or water pipe is a very expensive mistake. Always scan.
- Measuring from the subfloor — Add the floor covering allowance. Always measure from the anticipated finished floor level.
- Freehanding the cut-out — Freehand cut-outs are never as accurate as template-traced ones. Use a template every time.
- Forcing the blade — Forced cuts crack plasterboard. Let the blade do the work.
- Not checking level before marking — Check the template is level before tracing, not after cutting.
For a deeper dive, see: 7 Common Power Point Installation Mistakes (And How to Avoid Them).
Cut It Right, Every Time
The PowerpointMate marking template takes the guesswork out of GPO cut-outs — giving you the exact dimensions, a level reference, and a consistent result on every outlet across the job.
Frequently Asked Questions
- What tool do I need to cut a power point hole in plasterboard?
- A jigsaw with a fine-tooth plasterboard blade or an oscillating multi-tool, paired with a precision GPO marking template. The template traces the exact cut-out size before cutting.
- How do I find the wall studs before cutting?
- Use a stud finder. GPOs are typically centred in the cavity between studs. Always scan for concealed cables and pipes before cutting.
- What is the correct height for a power point in Australia?
- Minimum 300 mm above finished floor level under AS/NZS 3000. Measure from the finished floor, not the subfloor.
- How do I cut a clean hole in plasterboard without cracking it?
- Use a sharp blade, follow a template line, and let the tool cut at its own pace. Support the offcut as you finish the last corner.
- What size is a standard Australian power point cut-out?
- Approximately 115 mm x 70 mm for a standard double GPO, though dimensions vary by manufacturer. A marking template gives you the exact size for your fitting.
- Can I install a power point myself in Australia?
- No. All power point installation must be carried out by a licensed electrician. Unlicensed electrical work is illegal in all states and territories.