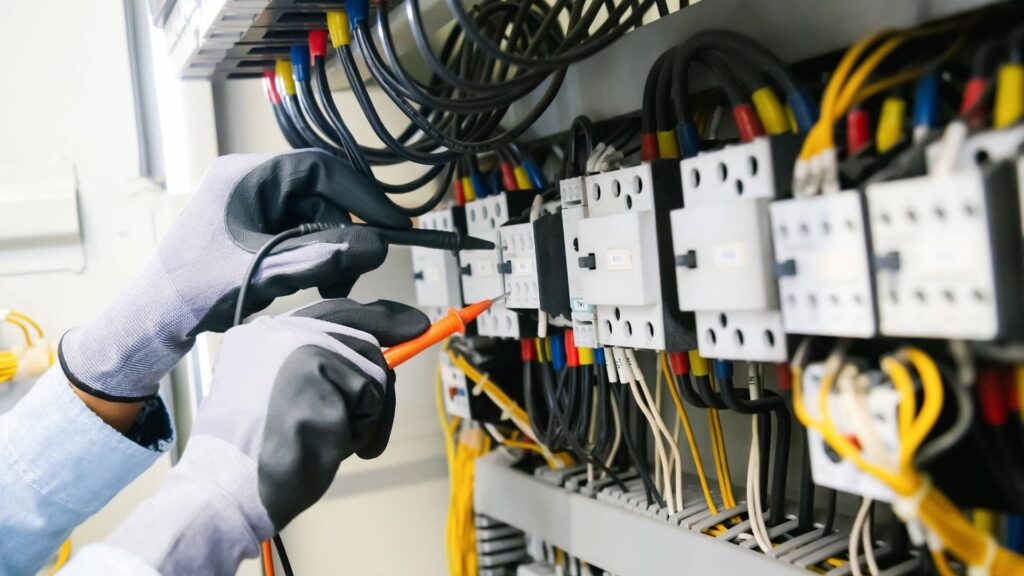
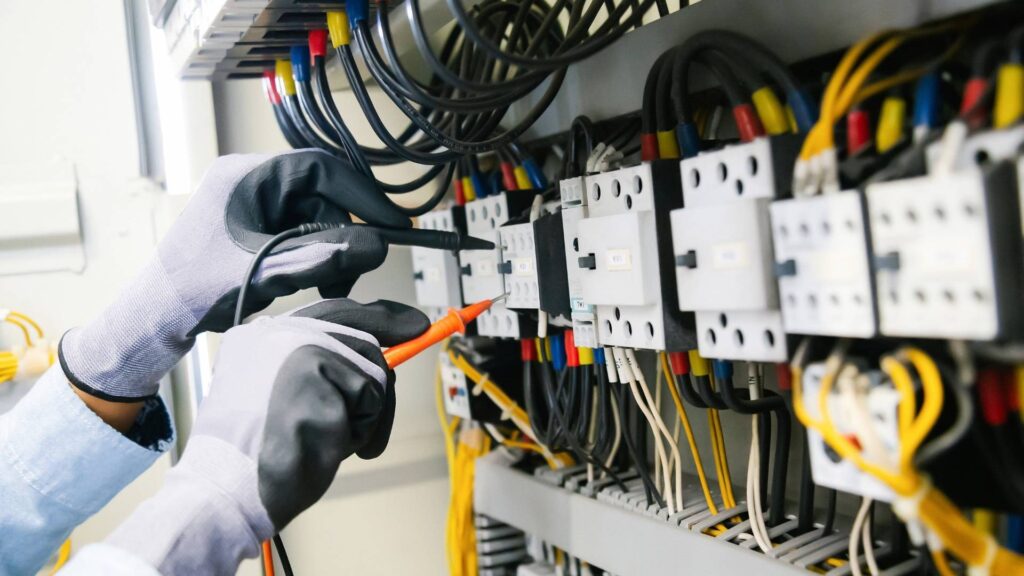
If you are an electrical apprentice working your first few GPO installations, this guide is for you. Power point installation is one of the most common tasks you will carry out on the tools — and getting the fundamentals right early sets you up for a career of clean, compliant work with minimal re-dos.
This guide covers the essential tools, the rough-in and fit-off process, compliance requirements, and the mistakes to avoid from day one.
Essential Tools for GPO Installation
- Stud finder with cable/pipe detection — Essential before cutting any hole. Never skip this step.
- Tape measure — For height measurement and cavity centring.
- Spirit level — For checking level on the bracket before fixing.
- GPO marking template — The PowerpointMate Standard Series Plate is purpose-built for accurate cut-outs.
- Keyhole saw or jigsaw — For cutting the plasterboard opening.
- Screwdrivers — Flat and Phillips for bracket and plate fixing.
- Wire strippers and long-nose pliers — For cable preparation and termination.
The Rough-In Process Step by Step
- Confirm finished floor level — Ask the builder for the floor covering spec and add the allowance to your reference height.
- Set reference height for the room — Mark a consistent height on all studs so every GPO sits level.
- Locate studs — GPOs typically sit between studs, centred on the cavity.
- Scan for concealed services — Run the cable/pipe detector over the area before marking. Do not skip this on renovation work.
- Mark the cut-out — Use a GPO marking template. Position at the reference height, check level, then trace the opening.
- Cut the hole — Cut carefully within the marked line.
- Run cable — Pull cable through the cavity and leave a 200–250 mm loop beyond the face of the wall.
- Fix the backing box — Secure to the stud, noggin, or plasterboard clip.
Fit-Off: Terminating and Installing the Plate
- Pull out the cable loop and confirm you have enough length to work with.
- Strip the outer sheath — Leave conductors long enough to reach the terminals comfortably.
- Strip conductor insulation — 10–12 mm from each conductor end.
- Identify conductors — Active (brown/red), neutral (blue/black), earth (green/yellow).
- Terminate to socket — Connect to correct terminals, tighten firmly.
- Check level — Use a spirit level across the top of the socket before fixing.
- Fix the plate — Screw cover plate flush to the wall.
- Test — Apply power and test with a socket tester.
Compliance Requirements to Know
- Minimum height — 300 mm above finished floor level (AS/NZS 3000).
- RCD protection — All socket outlets in domestic buildings must be RCD protected.
- Special locations — Kitchens, bathrooms, and outdoor areas have additional requirements.
- Cable support — Cables must be supported at correct intervals and not under mechanical stress at terminations.
- Supervision — All your work must be supervised by a licensed electrician until you are licensed yourself.
Common Apprentice Mistakes
- Measuring from the subfloor — Always account for the finished floor level.
- Cutting without scanning first — One cut through a concealed cable ruins your day. Always scan.
- Not enough cable loop — Leave 200–250 mm. Cutting short is not recoverable without a join.
- Not checking level at fit-off — Crooked plates are the first thing clients notice.
- Freehanding the cut-out — Oversized openings look poor. Use a template.
For a full breakdown, see: 7 Common Power Point Installation Mistakes.
The Right Marking Tool Makes Everything Easier
A dedicated GPO marking template significantly speeds up rough-in for apprentices. Place the template at your reference height, check it is level, and trace the opening. Done in seconds, perfectly sized every time.
The PowerpointMate Standard Series Plate is designed for standard Australian GPOs, while the Slimline Series Plate covers slimline profiles. Browse the range — $25 AUD.
Frequently Asked Questions
- What tools do electrical apprentices need for GPO installation?
- Essential tools: stud finder with cable/pipe detection, tape measure, pencil, spirit level, jigsaw or hole saw, screwdrivers, wire strippers, long-nose pliers, and a GPO marking template.
- How do I rough in a power point correctly?
- Locate studs, confirm finished floor height, set your reference height, use a marking template to trace the cut-out, cut the hole, run the cable, strip and loop the cable, and secure the backing box. Leave 200-250 mm of cable loop beyond the face of the wall.
- What is the minimum cable loop to leave at a power point?
- Leave at least 200-250 mm of cable loop beyond the front face of the wall cavity. This gives enough slack for clean terminations at fit-off.
- What is the difference between rough-in and fit-off?
- Rough-in is the first fix stage — running cables, cutting holes, installing backing boxes while walls are open. Fit-off is the final stage after plastering and painting, where you terminate the cables and install the socket plates.
- Do apprentices need supervision for GPO installation?
- Yes. Apprentice electricians must work under the direct supervision of a licensed electrician and cannot independently certify or sign off on electrical work.
- What marking template should I use for GPO cut-outs?
- A precision GPO marking template like the PowerpointMate Standard or Slimline Series Plate gives exact cut-out dimensions and a level reference in one tool, speeding up rough-in and producing consistent results.